
Finally! I have gotten to creating some videos with content I have wanted to share for a while! And… I have determined how to get the best sound with the equipment I have and in the environment in which I am recording my videos. I am addressing lighting myself and my “set” as well as I can, again, with the equipment I currently have. I am getting comfortable with editing my video clips using Adobe Premiere Elements. So, what do I think? I want to share my thoughts in this article. Making videos is not easy. Wait! Let me rephrase that: making good videos is not easy. Throwing together a video with little regard to quality is a piece of cake. After going through learning how to get the best sound I can and trying to light my “set” as best I can, I am even more amazed that some people go ahead and publish the videos they do. That is, publish videos where the sound is bad and the lighting leaves much to be desired. Maybe I am a snob, but I wouldn’t publish what some folks publish. Of course, those who have more experience in filmmaking or who have been producing YouTube videos for some time may look at my two first “real” attempts and scoff.
And scoff, perhaps, they should. I know I have much to improve on, but I am reasonably happy with these first two attempts. I have six more videos on the Olympus Air A01 camera planned, as well as several videos on other topics that have been popular on my blog. So, I look forward to many opportunities to fine tune my ability to produce videos where quality improves, hopefully, with each new one.

Here are my reflections after working on this project for the past month or so.

Scripts: One really should plan out what one is going to say in the recorded video before turning on the camera! I have a “production schedule” that outlines the videos I hope to make in the next several weeks. Just the act of writing these topics down helps me focus on what I want to cover and in what chunks. By “chunks” I mean different whole videos for small pieces of the greater topic. I never envisioned doing eight different videos on just the Olympus Air A01 camera, but as I began, and checked others’ videos, I realized I needed to limit the length of my videos. My aim is to keep each under ten minutes. However, I’m finding that sometimes difficult to do. Beyond a schedule, however, it is helpful to make a list of points to cover in a recording. For my intro pieces, I am actually writing a script for myself and use my DIY teleprompter when I record that segment. Using the teleprompter does two things: it keeps me on topic and I keep my eyes open. After watching several of my early videos where I ad libbed, I noticed that I often closed my eyes when talking. Though I have to work on that, using the teleprompter eliminates the problem!
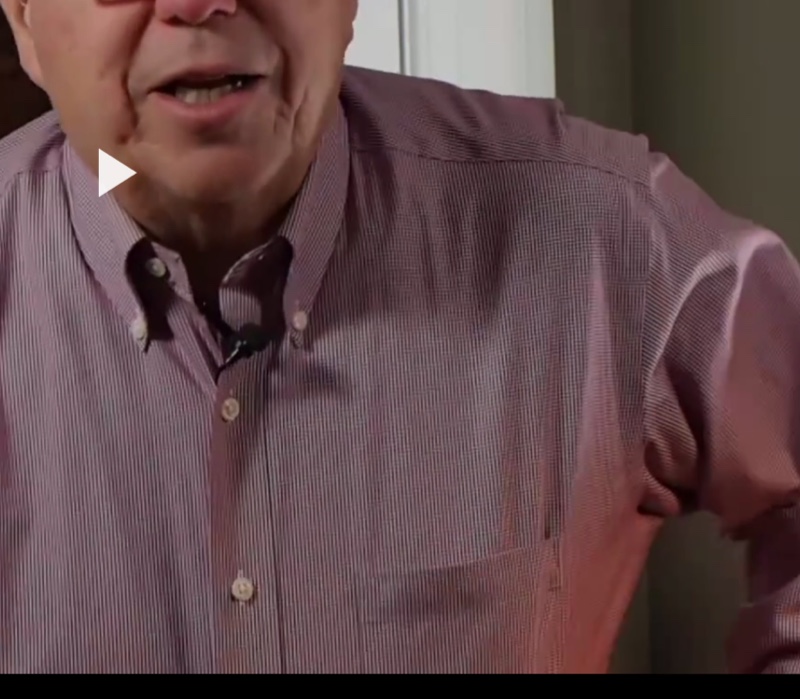
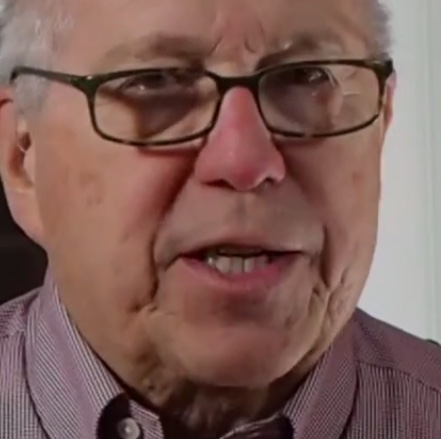
Clothing: Don’t know why I didn’t remember this from earlier experiences with video recording, but one should not wear patterned shirts or blouses when recording video! Many pattern materials cause what is called “moiré” in the video where it appears that one’s shirt is alive! Stick with simple and plain, light blue shirts or blouses.

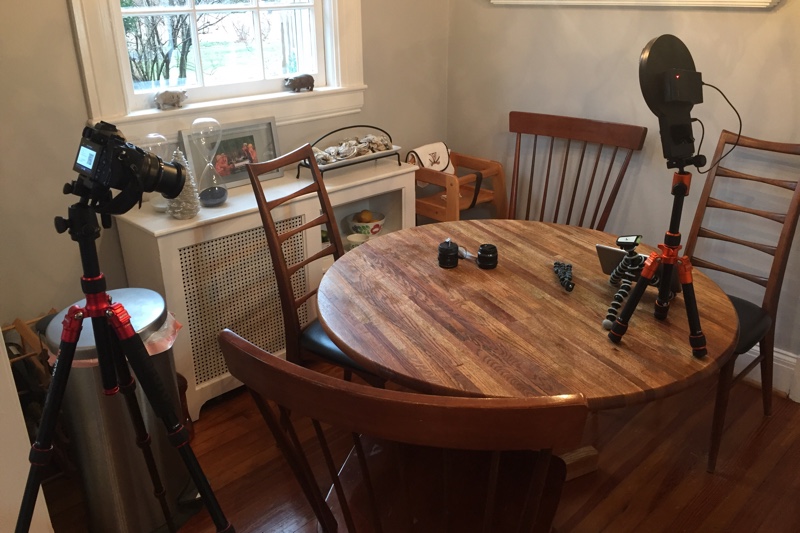
Shooting Time: I began with the idea that I would shoot my videos at night, but this meant that I had to use a lot of artificial, constant light to light myself and the “set.” Doing this introduced issues of shadows and window reflections since I wanted to record the video in a room in our house with many windows. I am fortunate that I am retired and at home during the day so recording in the middle of the day in a bright room in our house eliminates that problem. Moral: don’t discount the use of natural daylight lighting when shooting video!
Shooting Place: For each of my videos thus far I have had to set everything up from scratch. Though this is not really a big deal, it does take time. Having a place that can be left set for recording is a luxury, but something to shoot for if it is possible. I do have a studio space that awaits cleaning after some water issues, so, once I have that ready, I will have a place that I can always leave set up for recording.
Getting Things in the Frame: I have noticed in a few of my videos, that what I am showing is not really always visible to the viewer. This is something I must practice and improve upon. It is very handy that I can control my Olympus OM-D E-M1 using my iPad Mini or iPhone while it is recording, because I can see on the iPhone or iPad screen what is being captured. Being able to see that helps me in making sure whatever I am holding or pointing to is viewable in the video.
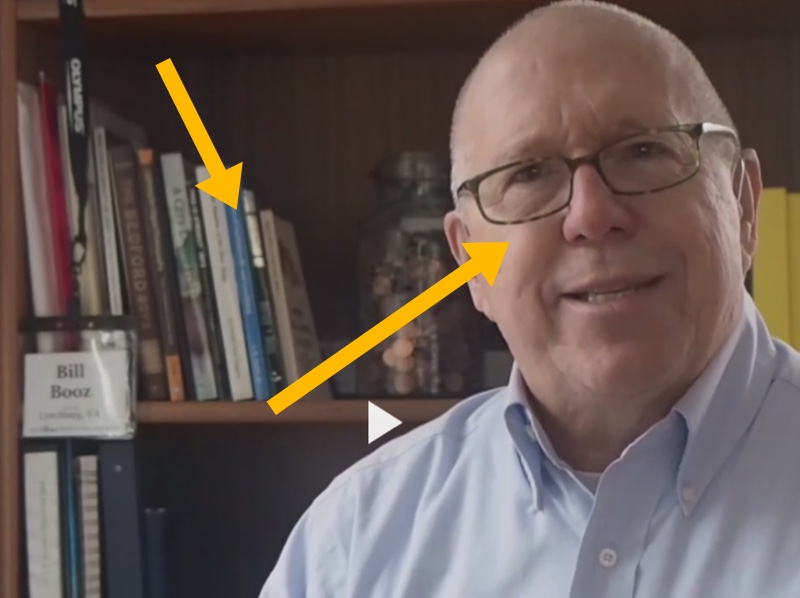
Focus: I am still struggling somewhat with this one. I usually set my camera to continuous auto focus (“C-AF” on Olympus cameras). In video mode, this means that the camera is always trying to keep the “main subject” in focus. However, as I move sideways or back and forth when sitting, my E-M1 seems to focus on things behind me. So, I am experimenting with using manual focus when shooting these “talking head” segments.

Sound: Most say that sound is 50% (if not more) of every video. People will endure bad video sometimes, but if the sound is bad, they tune out. This, therefore, is something I have put more effort into than any other aspect of video recording. After several experimental videos, I feel that recording my videos using a wired lavalier microphone produces the best audio quality. We live in an old house with hardwood floors in every room.
This causes echoing when recording sound with any mic, but the lavalier, so far, seems to have minimized the echo the most. However, there is still some echo, so I need to figure out how to absorb that echo to eliminate it entirely.
Assembling a Video: Producing a final video involves lots of steps and work. But it is energizing to figure out how to piece information together to create a final “story.” I am still learning how best to record the clips I want to use in my final video and then how to weave them into one, continuous video piece. Video editing really is an art form and I have gained a great deal of respect for those who do it well.
All of that said, though, this process has been invigorating and fun. With each video produced, I gain more experience and learn how to refine the process. Please check out my first two videos on the Olympus Air A01 on my YouTube Channel! I have six more planned over the next month.
If you would be interested in virtual tutoring sessions using either Skype or Google Hangouts, please drop me and e-mail or leave a private message to me on Facebook or Google+.
Please leave me questions or comments on my Facebook page (https://www.facebook.com/billbooz) or on Google+ (http://plus.google.com/+BillBooz). I look forward to interacting with you!
Please follow my learning how to record video with my Olympus OM-D E-M1 on my YouTube Channel!
Check out my free eBook on Mastering Your Camera's Priority Modes: http://www.infotor.com/ebooks. Download and enjoy!
I am available to do one-on-one tutoring or small group lessons designed to meet YOUR needs and what you want to learn in the area of photography, using flashes, or the use of Apple products and software. Give yourself the gift of learning: http://www.infotor.com/photoclasses! And check out my tutoring bundle: http://www.infotor.com/photoclasses/tutoringbundle.php as well. A PDF of my brochure is at http://www.infotor.com/photoclasses/brochures/WHBI_2015-16Brochure.pdf.