Is a new digital camera or, perhaps, a new external flash going to be under the tree for you this year? Whether you get a new camera or flash or are using equipment you already own, you probably find yourself taking lots of family pictures at this time of year. And, most likely, you're taking a lot of them indoors. Right? The need for more light when shooting pictures indoors brings you, probably, to something you generally like to avoid most of the time if you are like most amateur (or even professional) photographers: Flash! 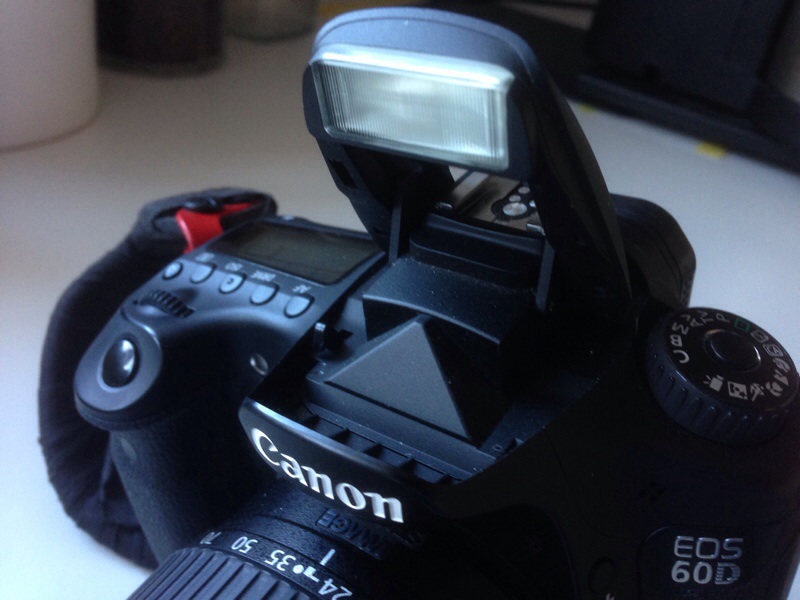 If you're shooting in Auto Mode, then your camera will automatically pop-up your built in flash when your camera's meter determines that there isn't enough light in the scene your shooting. (If you don't want this to happen, by the way, but you still want to shoot in an "auto" mode, set your camera to "P" [for "Program"] mode.)
Your built-in flash may help but you may not be happy with the results. Unfortunately, since this flash is so small and right over your camera lens, front-on to your subject(s), it creates a flat looking image and the chances that your subjects will have the dreaded "red eye" look increases. And have you noticed that - especially if you stand close to your subject(s) - the area behind your subjects is pretty dark even though there seemed to be plenty of light in the room and you used your flash. That room light is called "ambient light" and the speed of your camera's shutter determines how much of it will be recorded. Since you were using a flash and were probably shooting in Auto (this applies to dSLRs AND compact cameras!), your camera most likely chose a faster shutter speed to make sure you didn't get a blurry image and this, together with a principle of physics, caused the area behind your subject(s) to darken. The physics "thing" is an important concept to understand when you decide to learn more about flash, but, for now, just leave it at "when you flash light on a subject very close, that light drops off (i.e., darkens) very quickly." So, if you stand back some, you may be able to remedy this problem, though you are still dealing with a flash that doesn't have a lot of power or reach.
If you're shooting in Auto Mode, then your camera will automatically pop-up your built in flash when your camera's meter determines that there isn't enough light in the scene your shooting. (If you don't want this to happen, by the way, but you still want to shoot in an "auto" mode, set your camera to "P" [for "Program"] mode.)
Your built-in flash may help but you may not be happy with the results. Unfortunately, since this flash is so small and right over your camera lens, front-on to your subject(s), it creates a flat looking image and the chances that your subjects will have the dreaded "red eye" look increases. And have you noticed that - especially if you stand close to your subject(s) - the area behind your subjects is pretty dark even though there seemed to be plenty of light in the room and you used your flash. That room light is called "ambient light" and the speed of your camera's shutter determines how much of it will be recorded. Since you were using a flash and were probably shooting in Auto (this applies to dSLRs AND compact cameras!), your camera most likely chose a faster shutter speed to make sure you didn't get a blurry image and this, together with a principle of physics, caused the area behind your subject(s) to darken. The physics "thing" is an important concept to understand when you decide to learn more about flash, but, for now, just leave it at "when you flash light on a subject very close, that light drops off (i.e., darkens) very quickly." So, if you stand back some, you may be able to remedy this problem, though you are still dealing with a flash that doesn't have a lot of power or reach.
 Dealing with the "flat" look of your image, however, is a little more difficult to remedy without adding new equipment. The image is "flat" because the light is coming right at your subject(s), thus, there are probably no shadows on your subject's face. The light from your flash dominates the image and wipes out any light (remember, "ambient light") that may fall on the subject(s) from room lights, etc. You can soften the light (eliminate glare) by covering your built-in flash with something such as a white tissue, but it will still be flat. This is where an external flash placed in your camera's hot shoe can come to your rescue. Not only can you diffuse (soften) it's more powerful light but, more importantly, you can twist the flash head up and/or to the side to bounce its light off the ceiling or a wall, thus creating flattering shadows on the faces of your subject(s). Yes, adding an external flash to your photographic arsenal is a step closer to making better images. There are many creative ways to use such a flash on your camera besides what I have described here and, ultimately, you want to move your flash off the camera for even more creative control over your photographs.
 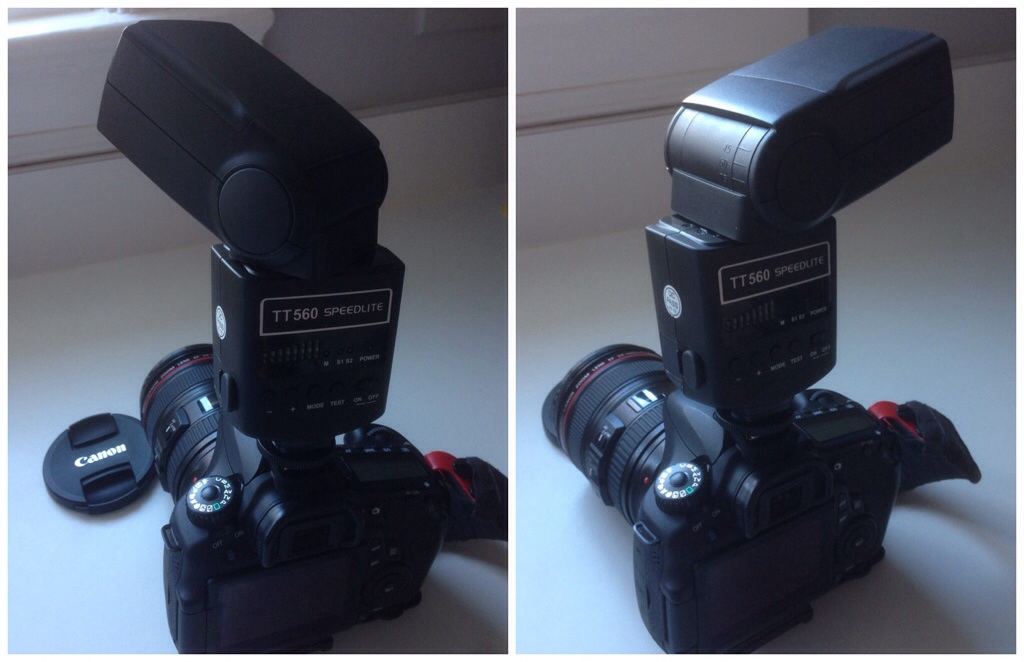 And you can do all of this without breaking the bank. Sure, if you purchase name brand flashes that have the same name as your camera or even third-party flashes made for your camera, you will spend anywhere from $175 a $600 or even more. However, you can purchase manually controlled flashes that will work with your camera for around $40! Yes, only $40 and you are into the world of external flash to experiment and see if it is for you! (I have such a flash and it DOES work just fine with all of my cameras!)
I will be offering a morning session of my "iPhone Photography" and a morning and evening session of my "On-Camera Flash: Using an External Flash on Your Camera" classes in January/February and March/April in Lynchburg. In addition to these classes I am also available to do one-on-one tutoring or small group lessons designed to meet YOUR needs and what you want to learn in the area of photography, using flashes, or the use of Apple products and software. Give yourself the gift of learning: http://www.infotor.com/photoclasses! Check out the holiday discount for my tutoring bundle: http://www.infotor.com/photoclasses/tutoringbundle.php as well.