 Proper lighting and where I am going to shoot my videos is still concerning me so I continue to experiment. I think, though, that I might have gotten a solution! There’s a saying that when you are photographing a scene, you should look up and behind you as there may be a better image lurking there. And so it is. All along in trying to deal with my room with three sides all in windows, I have been thinking that I should sit in one of the red, leather chairs or else in my desk chair. However, if I turn around and look away from the windows, I have glass French doors that can be opened or closed and a solid corner wall. Duh!

So, I gave that a go. I am able to attach one of my clamp lights with the fluorescent, daylight bulb to an open door on the armoire that contains our printer and miscellaneous stuff. I can turn off the table lamp next to my chair and place my Lumenator LED light source attached to my MeFoto DayTrip tripod. The first serves as a key or main light and the LED acts as a fill light. I can adjust one of the French doors so that there are no reflections. Voila! This seems to work fine.
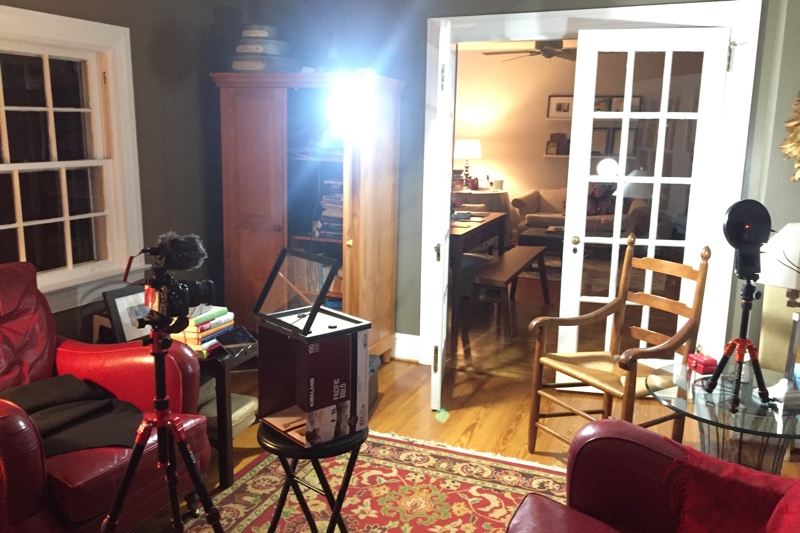 I set up my teleprompter on top of the cardboard box I am using to carry it and the black cloth. I have placed the box on a fold-up stool I got at Walmart for under $12. I placed my E-M1 on the MeFoto RoadTrip tripod behind the teleprompter just as I would if actually recording video. Using the OI.Share app on my iPhone, I remotely control the camera so I can take some still shots to check the lighting.
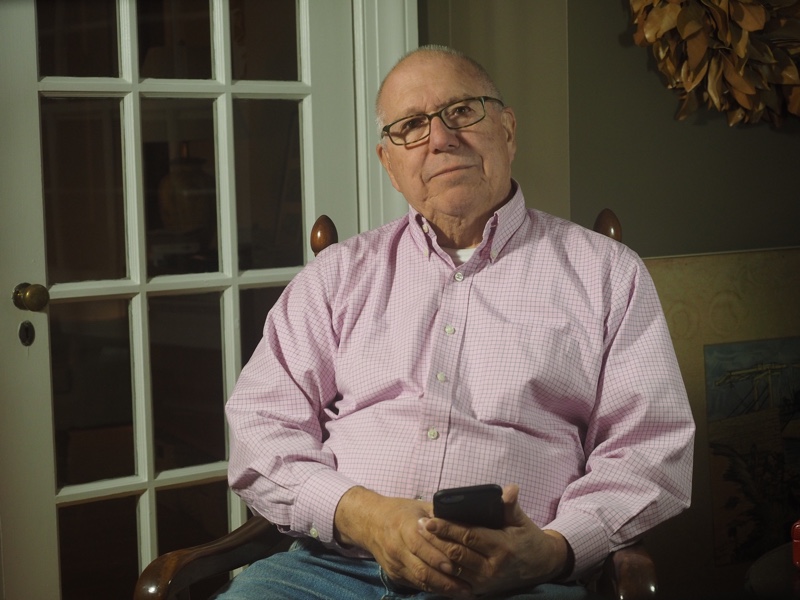
I still have some shadows in my eyes, but they are not as bad as in my last video. Do have to still work on that, though. Otherwise, though, I am reasonably happy with how I look in this test shot.

Point here is to illustrate how this whole thing is a process. A learning process that unfolds through trial and error. You can follow a recipe, but it may not work for you. Take my mistakes and successes and use them to help yourself achieve what you want to achieve, if you have considered doing video recording of yourself or video recording of an interview of someone.
 If you would be interested in virtual tutoring sessions using either Skype or Google Hangouts, please drop me and e-mail or leave a private message to me on Facebook or Google+.
Please leave me questions or comments on my Facebook page (https://www.facebook.com/billbooz) or on Google+ (http://plus.google.com/+BillBooz). I look forward to interacting with you!
Please follow my learning how to record video with my Olympus OM-D E-M1 on my YouTube Channel!
Check out my free eBook on Mastering Your Camera's Priority Modes: http://www.infotor.com/ebooks. Download and enjoy!
I am available to do one-on-one tutoring or small group lessons designed to meet YOUR needs and what you want to learn in the area of photography, using flashes, or the use of Apple products and software. Give yourself the gift of learning: http://www.infotor.com/photoclasses! And check out my tutoring bundle: http://www.infotor.com/photoclasses/tutoringbundle.php as well. A PDF of my brochure is at http://www.infotor.com/photoclasses/brochures/WHBI_2015-16Brochure.pdf.