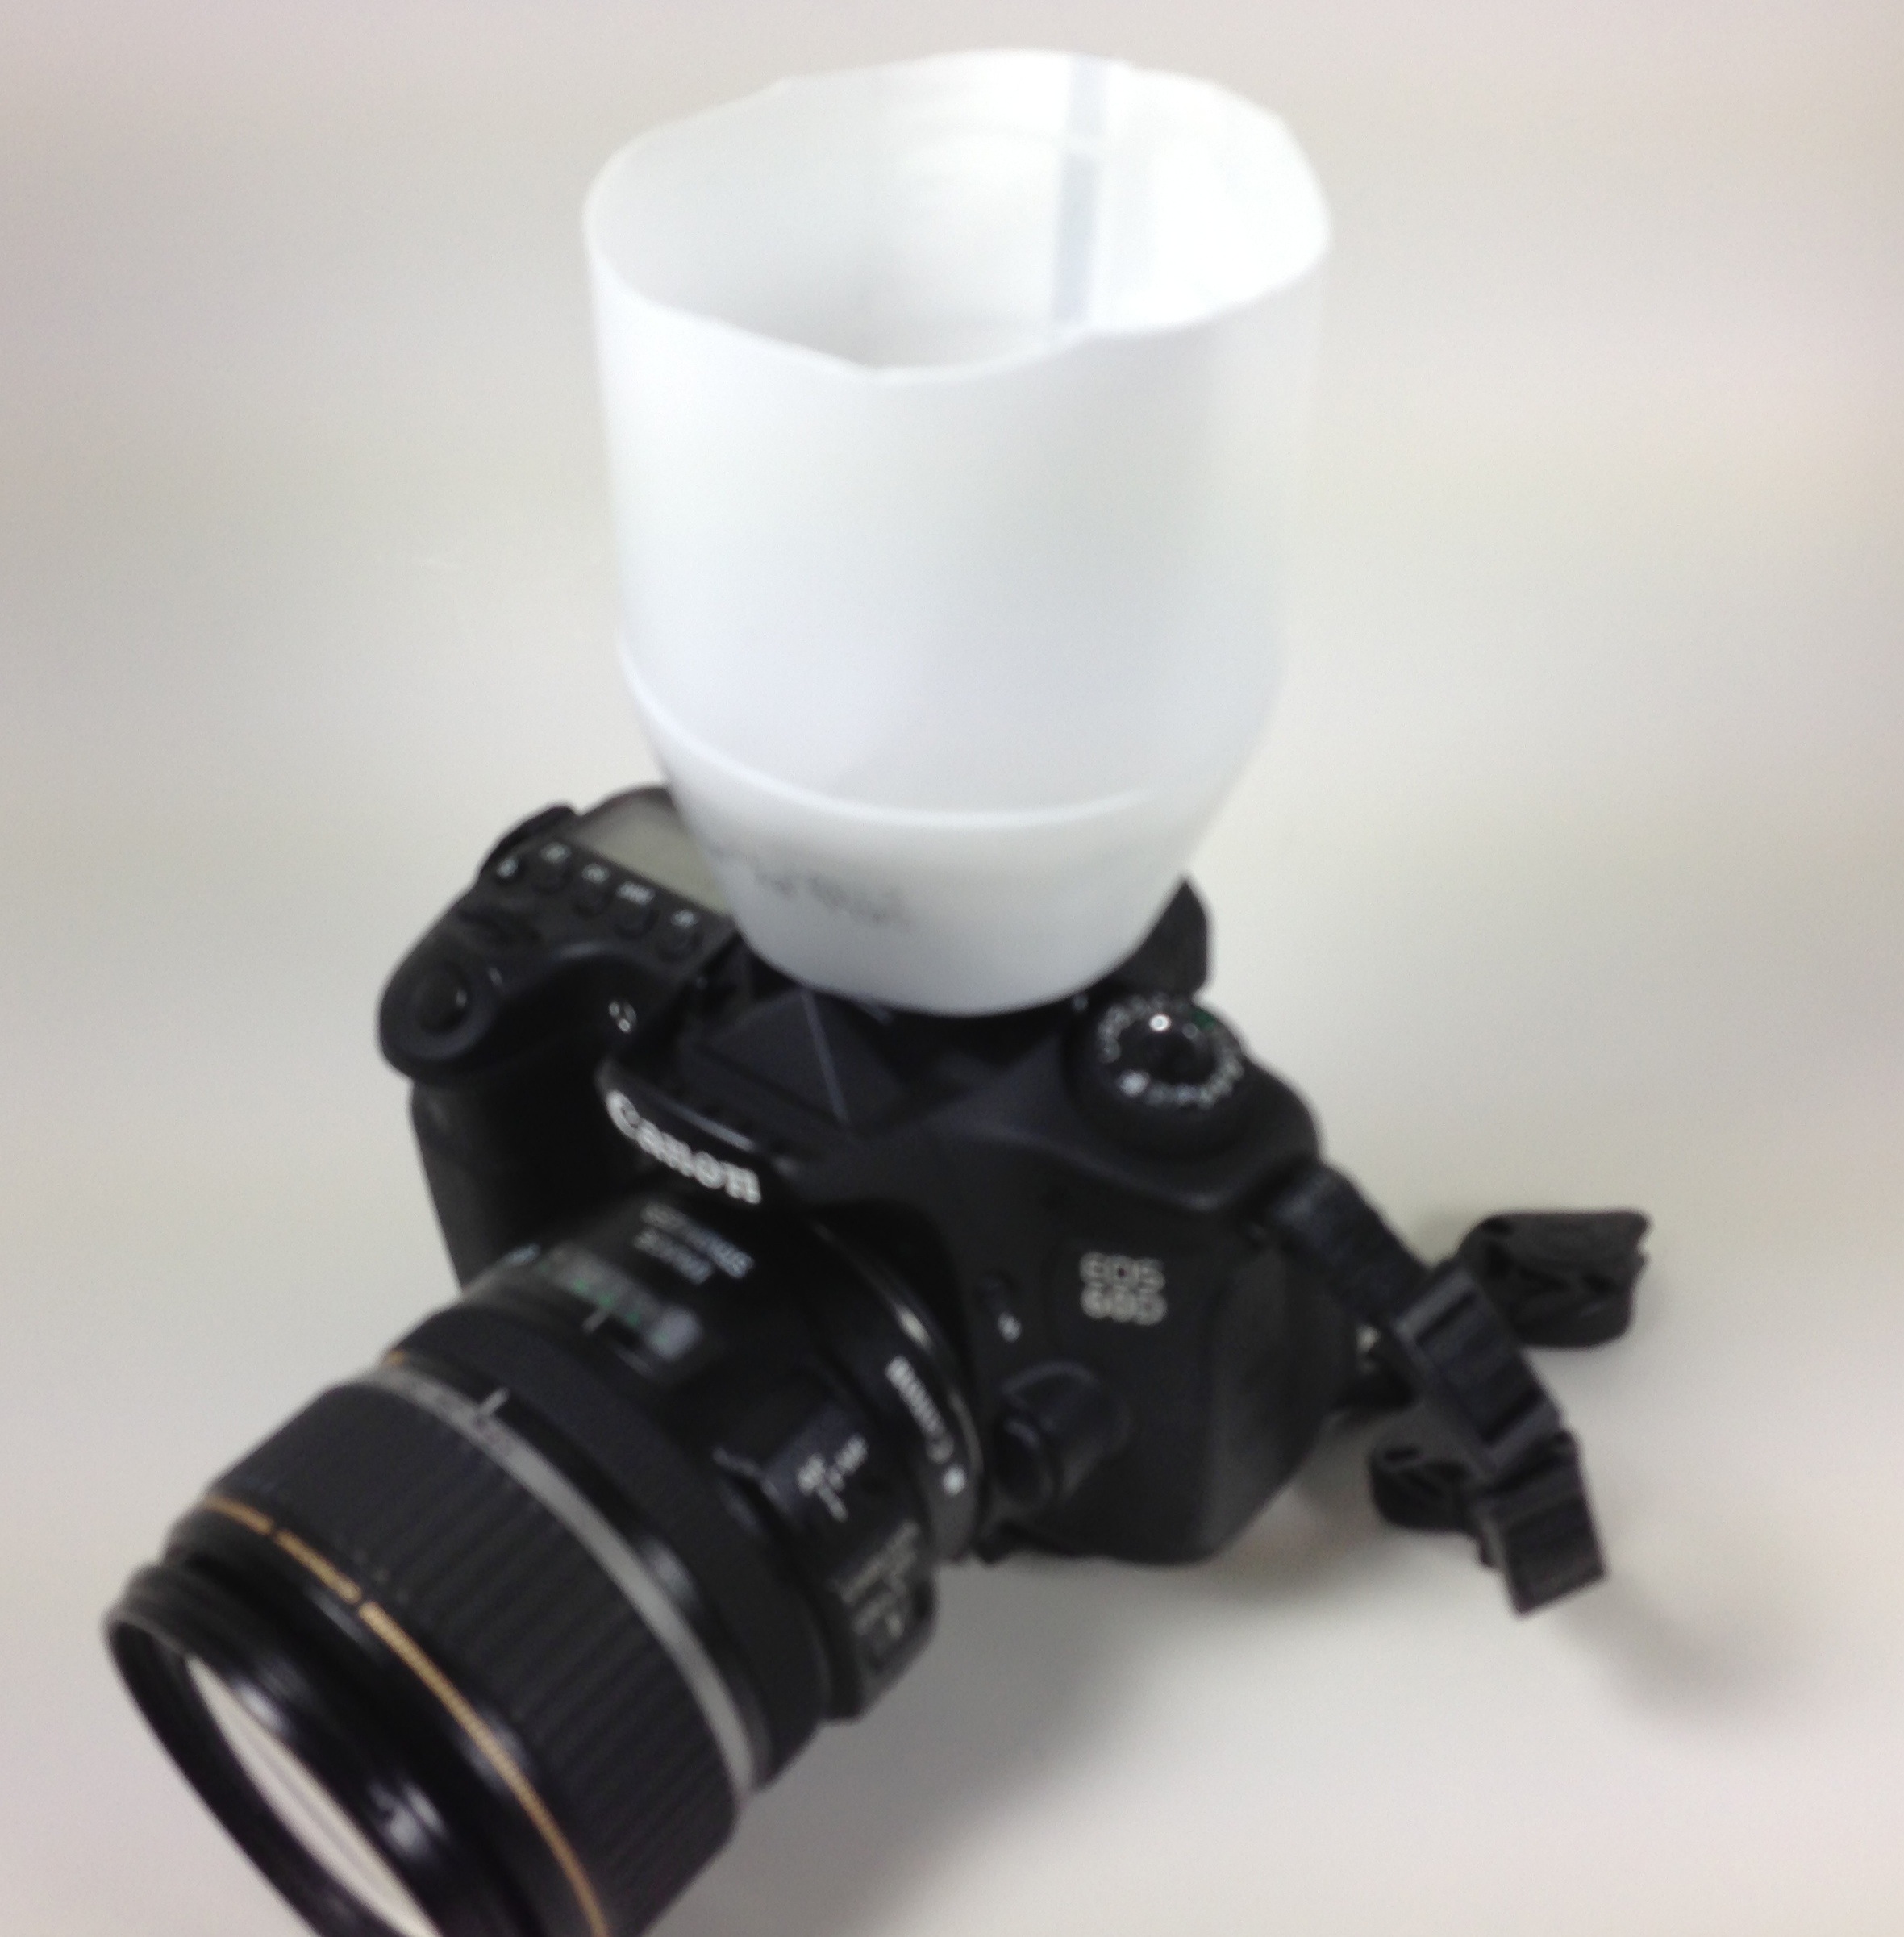
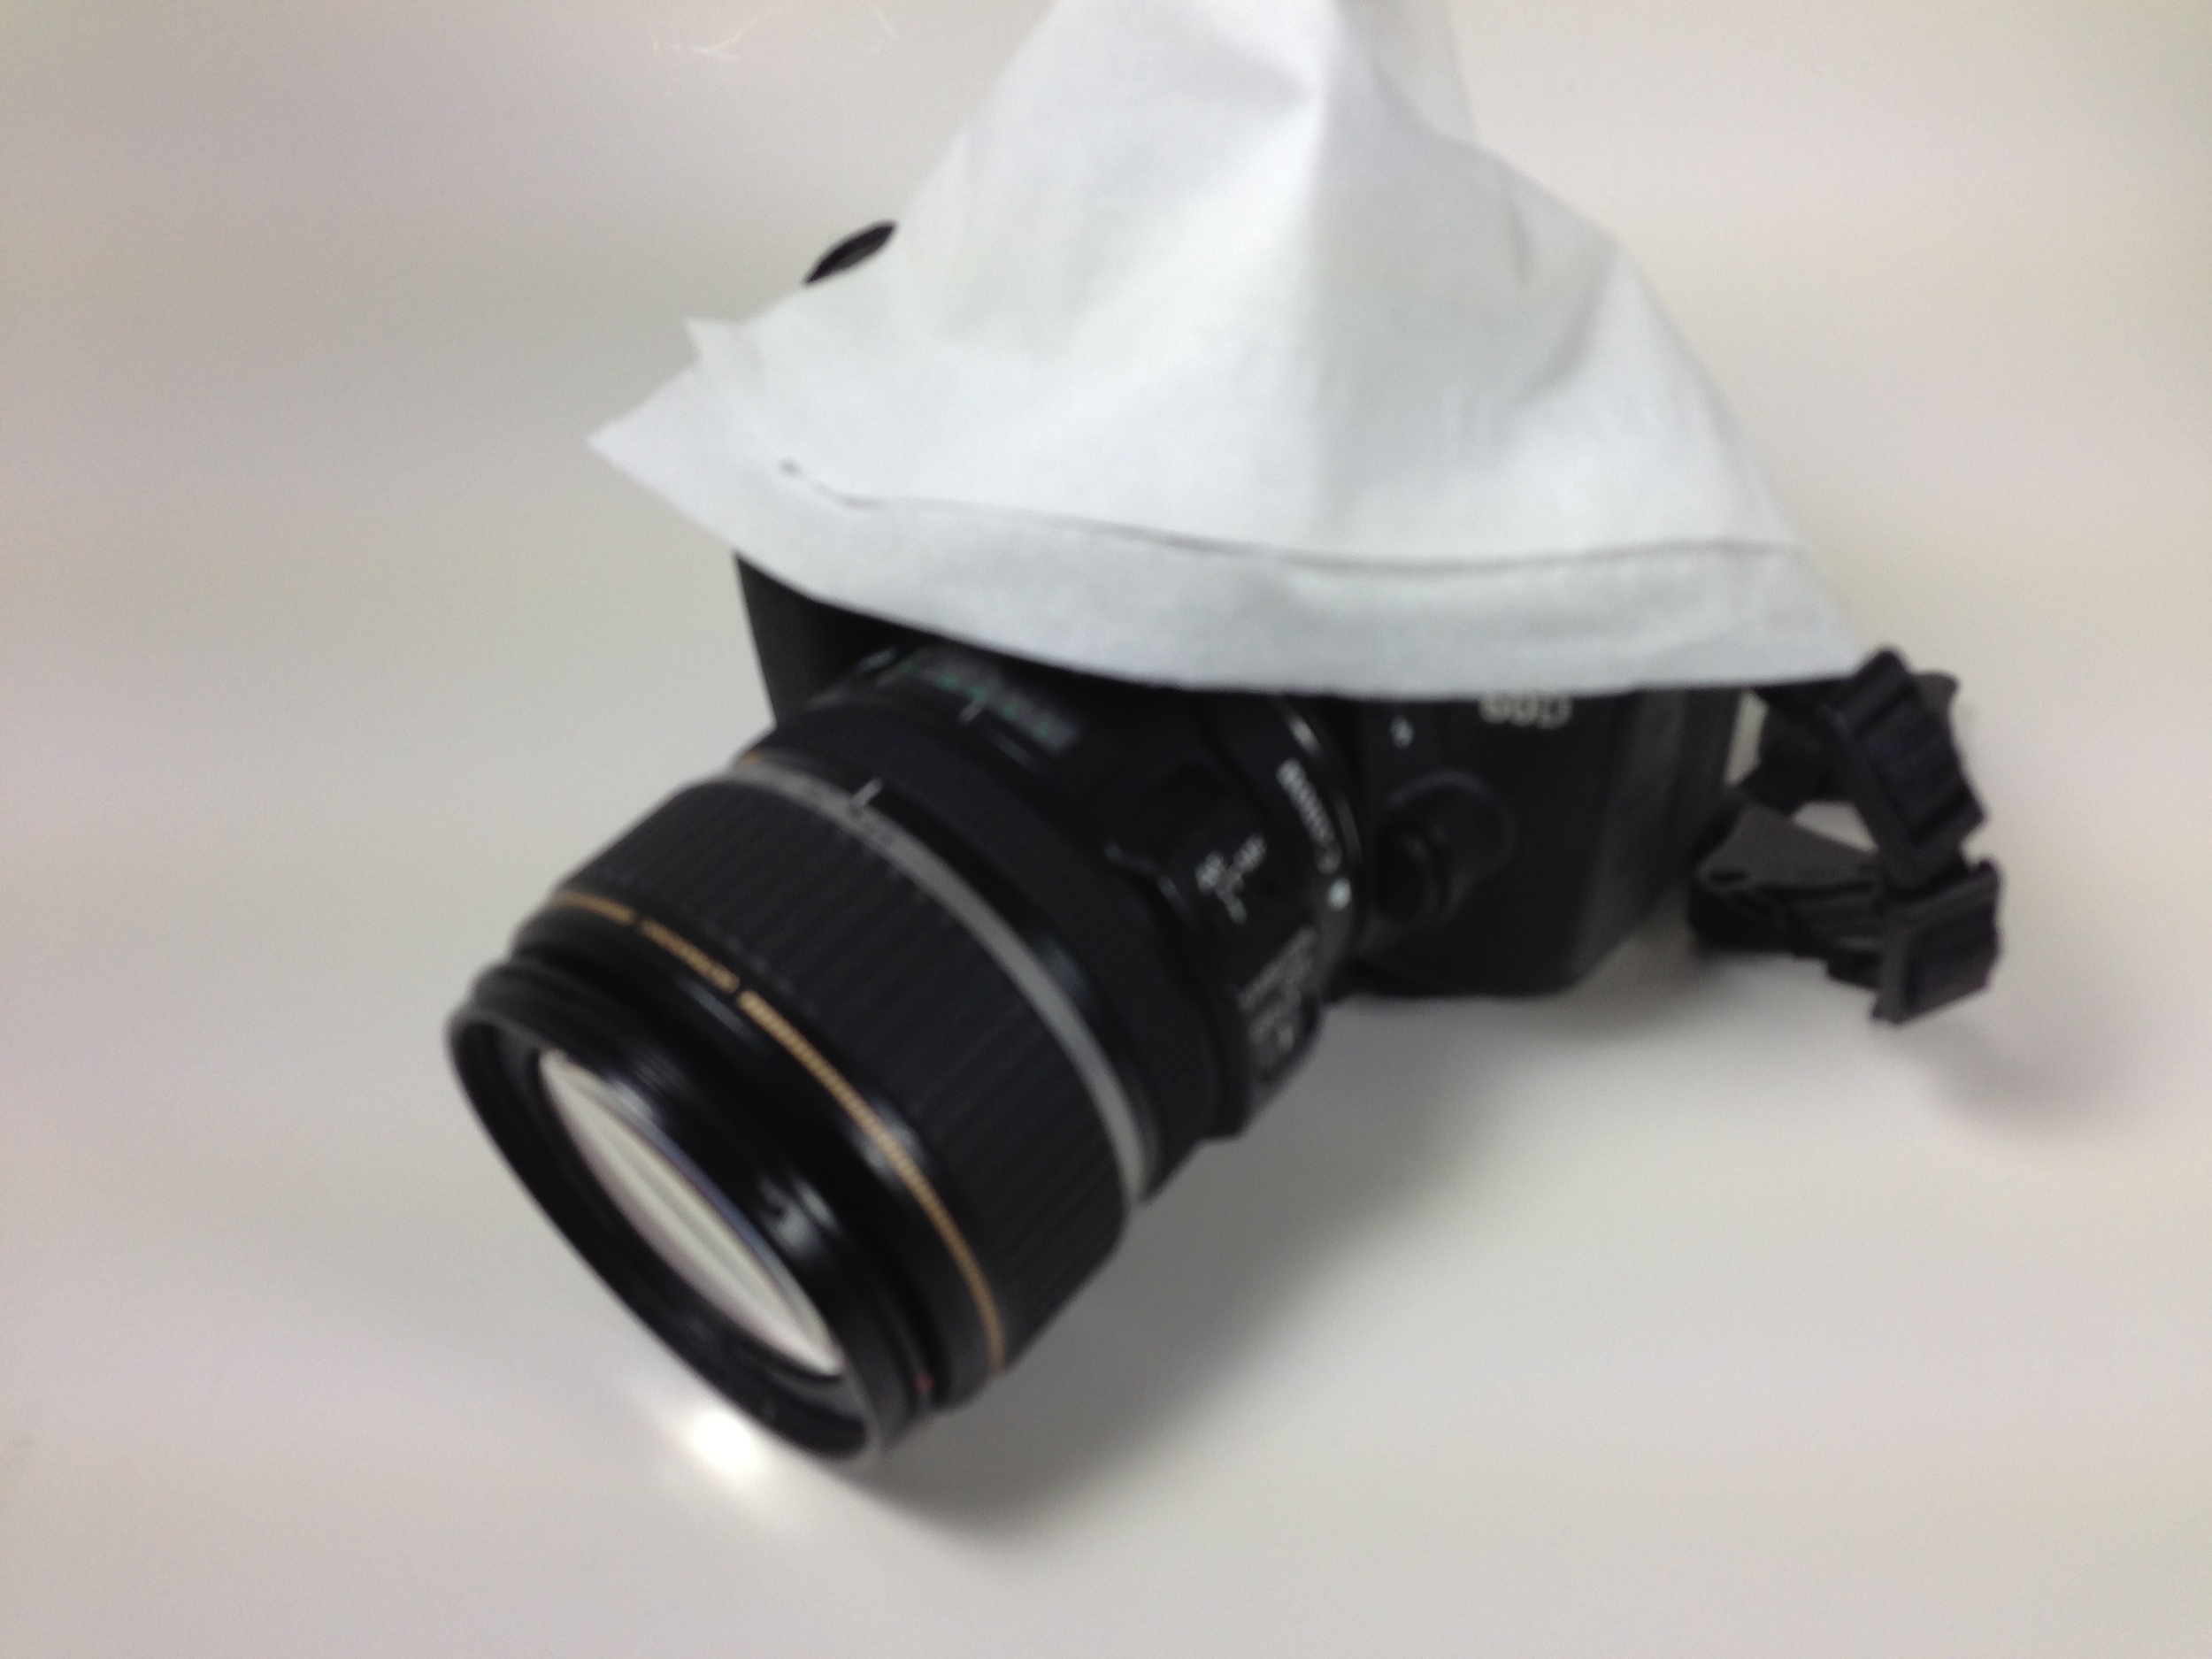
The first place to start with either your built-in flash or external flash is to explore the controls you have over these two very different tools in your photographic arsenal. Your camera’s built-in flash usually gets a bad rap. Sometimes this is deserved, but not if you don’t just pop it up and take a shot but, instead, control it! Still, whether it's your built-in flash or an external flash attached atop your camera, it is going to create flat light on your subject since, usually, it's pointed right in their face. Not much you can do with the built-in flash physically, since you can't twist it or move it in any way. You can, though, soften its light output some by diffusing it, covering it, for example, with a white handkerchief or a tissue. There are even small, commercial diffusers you can get for this small on board flash or you can make one yourself out of the plastic from a milk carton or other small, plastic bottles (see accompanying images).
  And, did you know, that you can even control the camera's built-in flash's power output from your
 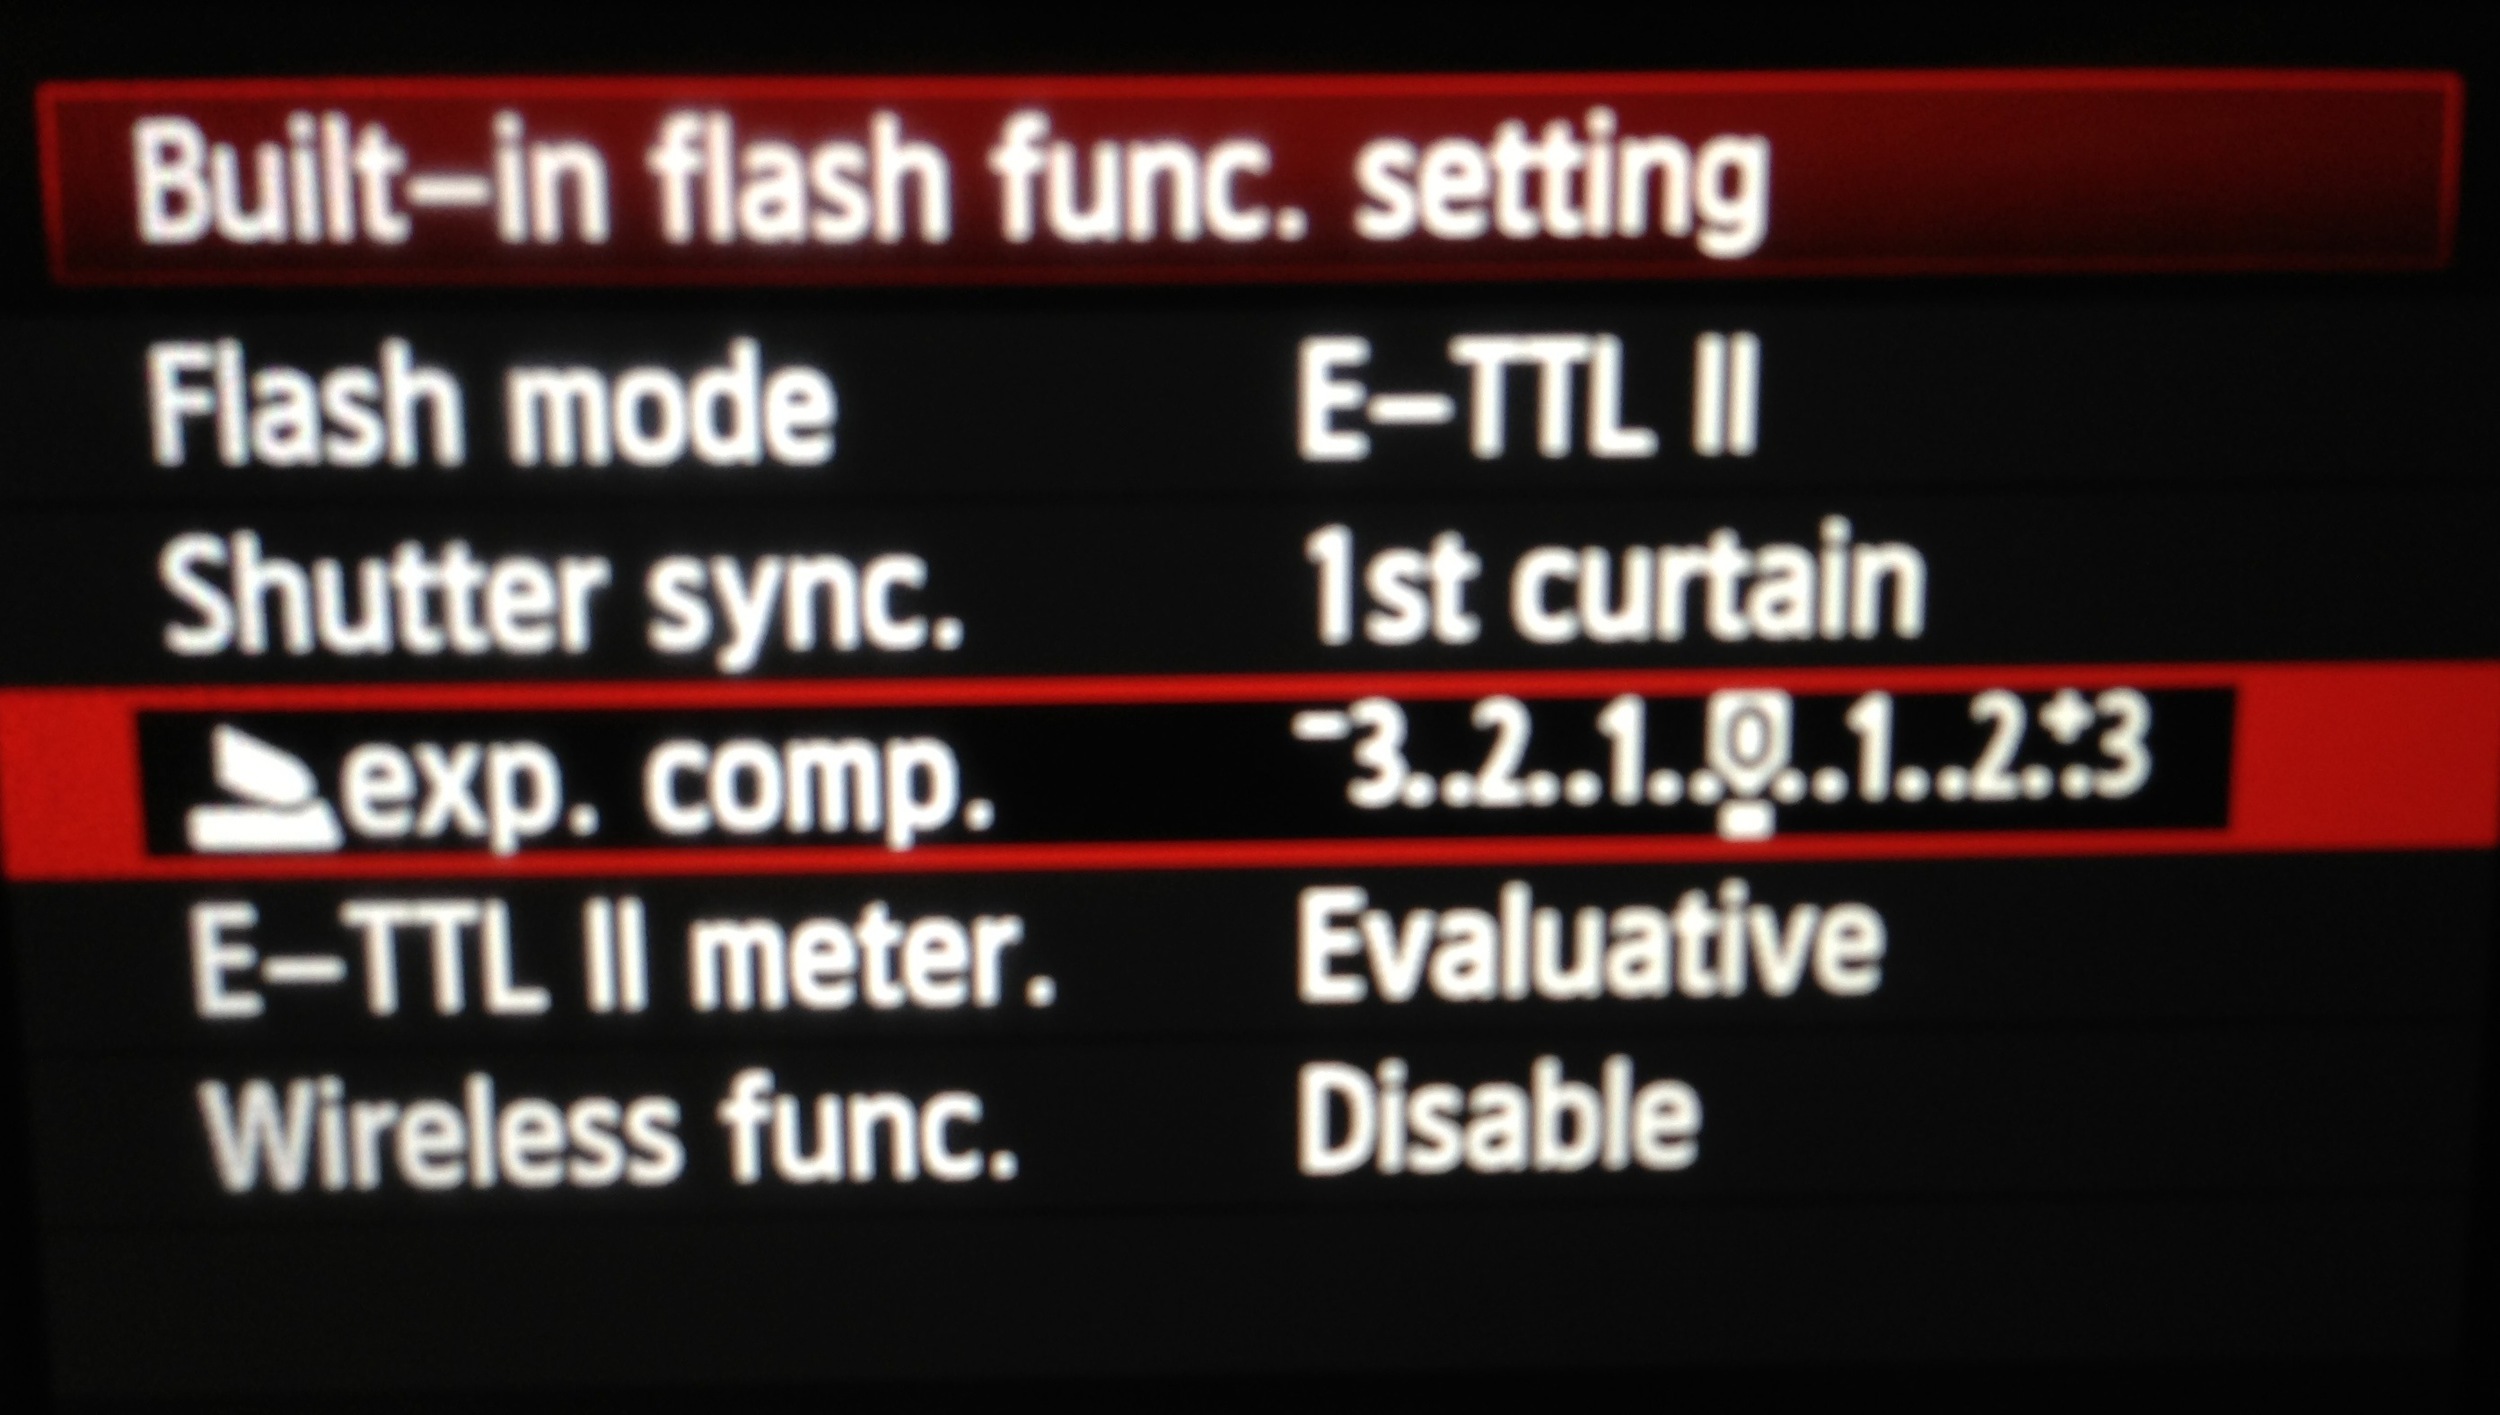 camera's menu? You can. And that alone can make a big difference. If you leave your camera in automatic flash mode (this IS different from the Auto shooting mode on your camera!), which is E-TTL on Canon and iTTL on Nikon, then you can control the output through Flash Exposure Compensation. But you can also set your built-in flash (on Canon, at least) to Manual flash mode and control the actual power output of the flash, cutting it, say, down to half or 1/8 power or even all the way to 1/128 power! This is not always possible and if it is, how you do it will vary from camera to camera. Check your camera manual for the steps. Don't have your manual or can't find it? See if it is one I link to on my manuals page: http://www.infotor.com/photoclasses/cameramanuals.php.
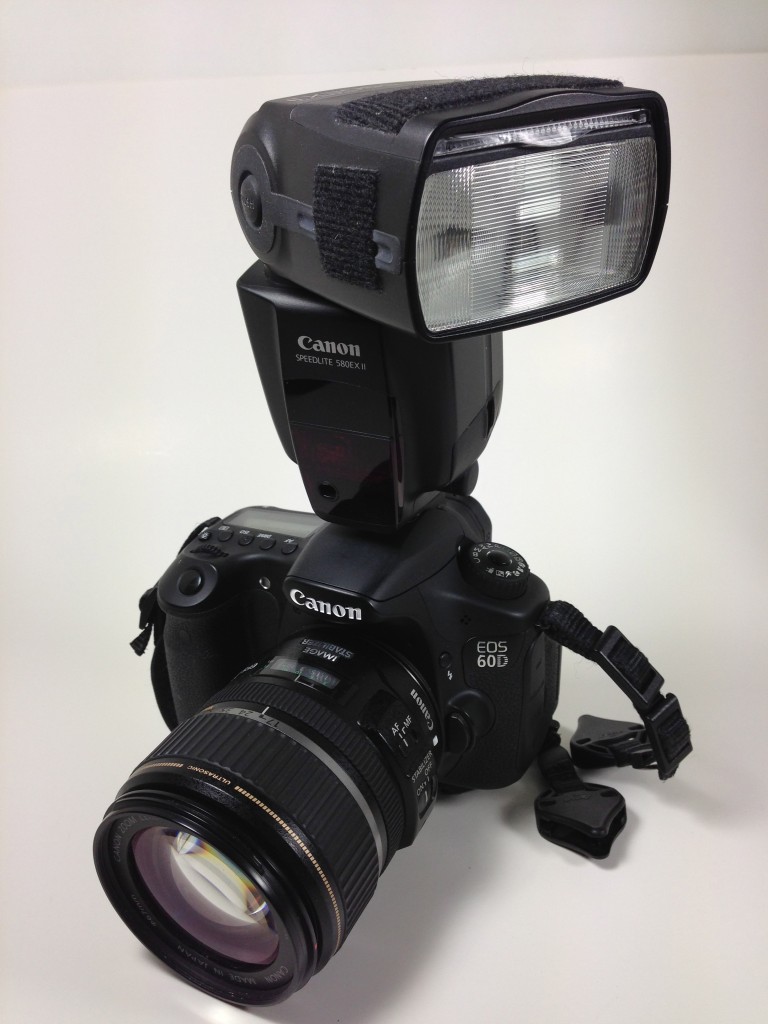
Of course, what I encourage people to do and what we do in my intro flash class, "Using Small Flash to Improve Your Images" (http://www.infotor.com/photoclasses/flashcontrolclasses.php), is if you must leave your flash on your camera, then try to bounce it off a large white surface, such as a wall. You do this by twisting the top element of your flash to point it to a side wall at an angle.
camera's menu? You can. And that alone can make a big difference. If you leave your camera in automatic flash mode (this IS different from the Auto shooting mode on your camera!), which is E-TTL on Canon and iTTL on Nikon, then you can control the output through Flash Exposure Compensation. But you can also set your built-in flash (on Canon, at least) to Manual flash mode and control the actual power output of the flash, cutting it, say, down to half or 1/8 power or even all the way to 1/128 power! This is not always possible and if it is, how you do it will vary from camera to camera. Check your camera manual for the steps. Don't have your manual or can't find it? See if it is one I link to on my manuals page: http://www.infotor.com/photoclasses/cameramanuals.php.
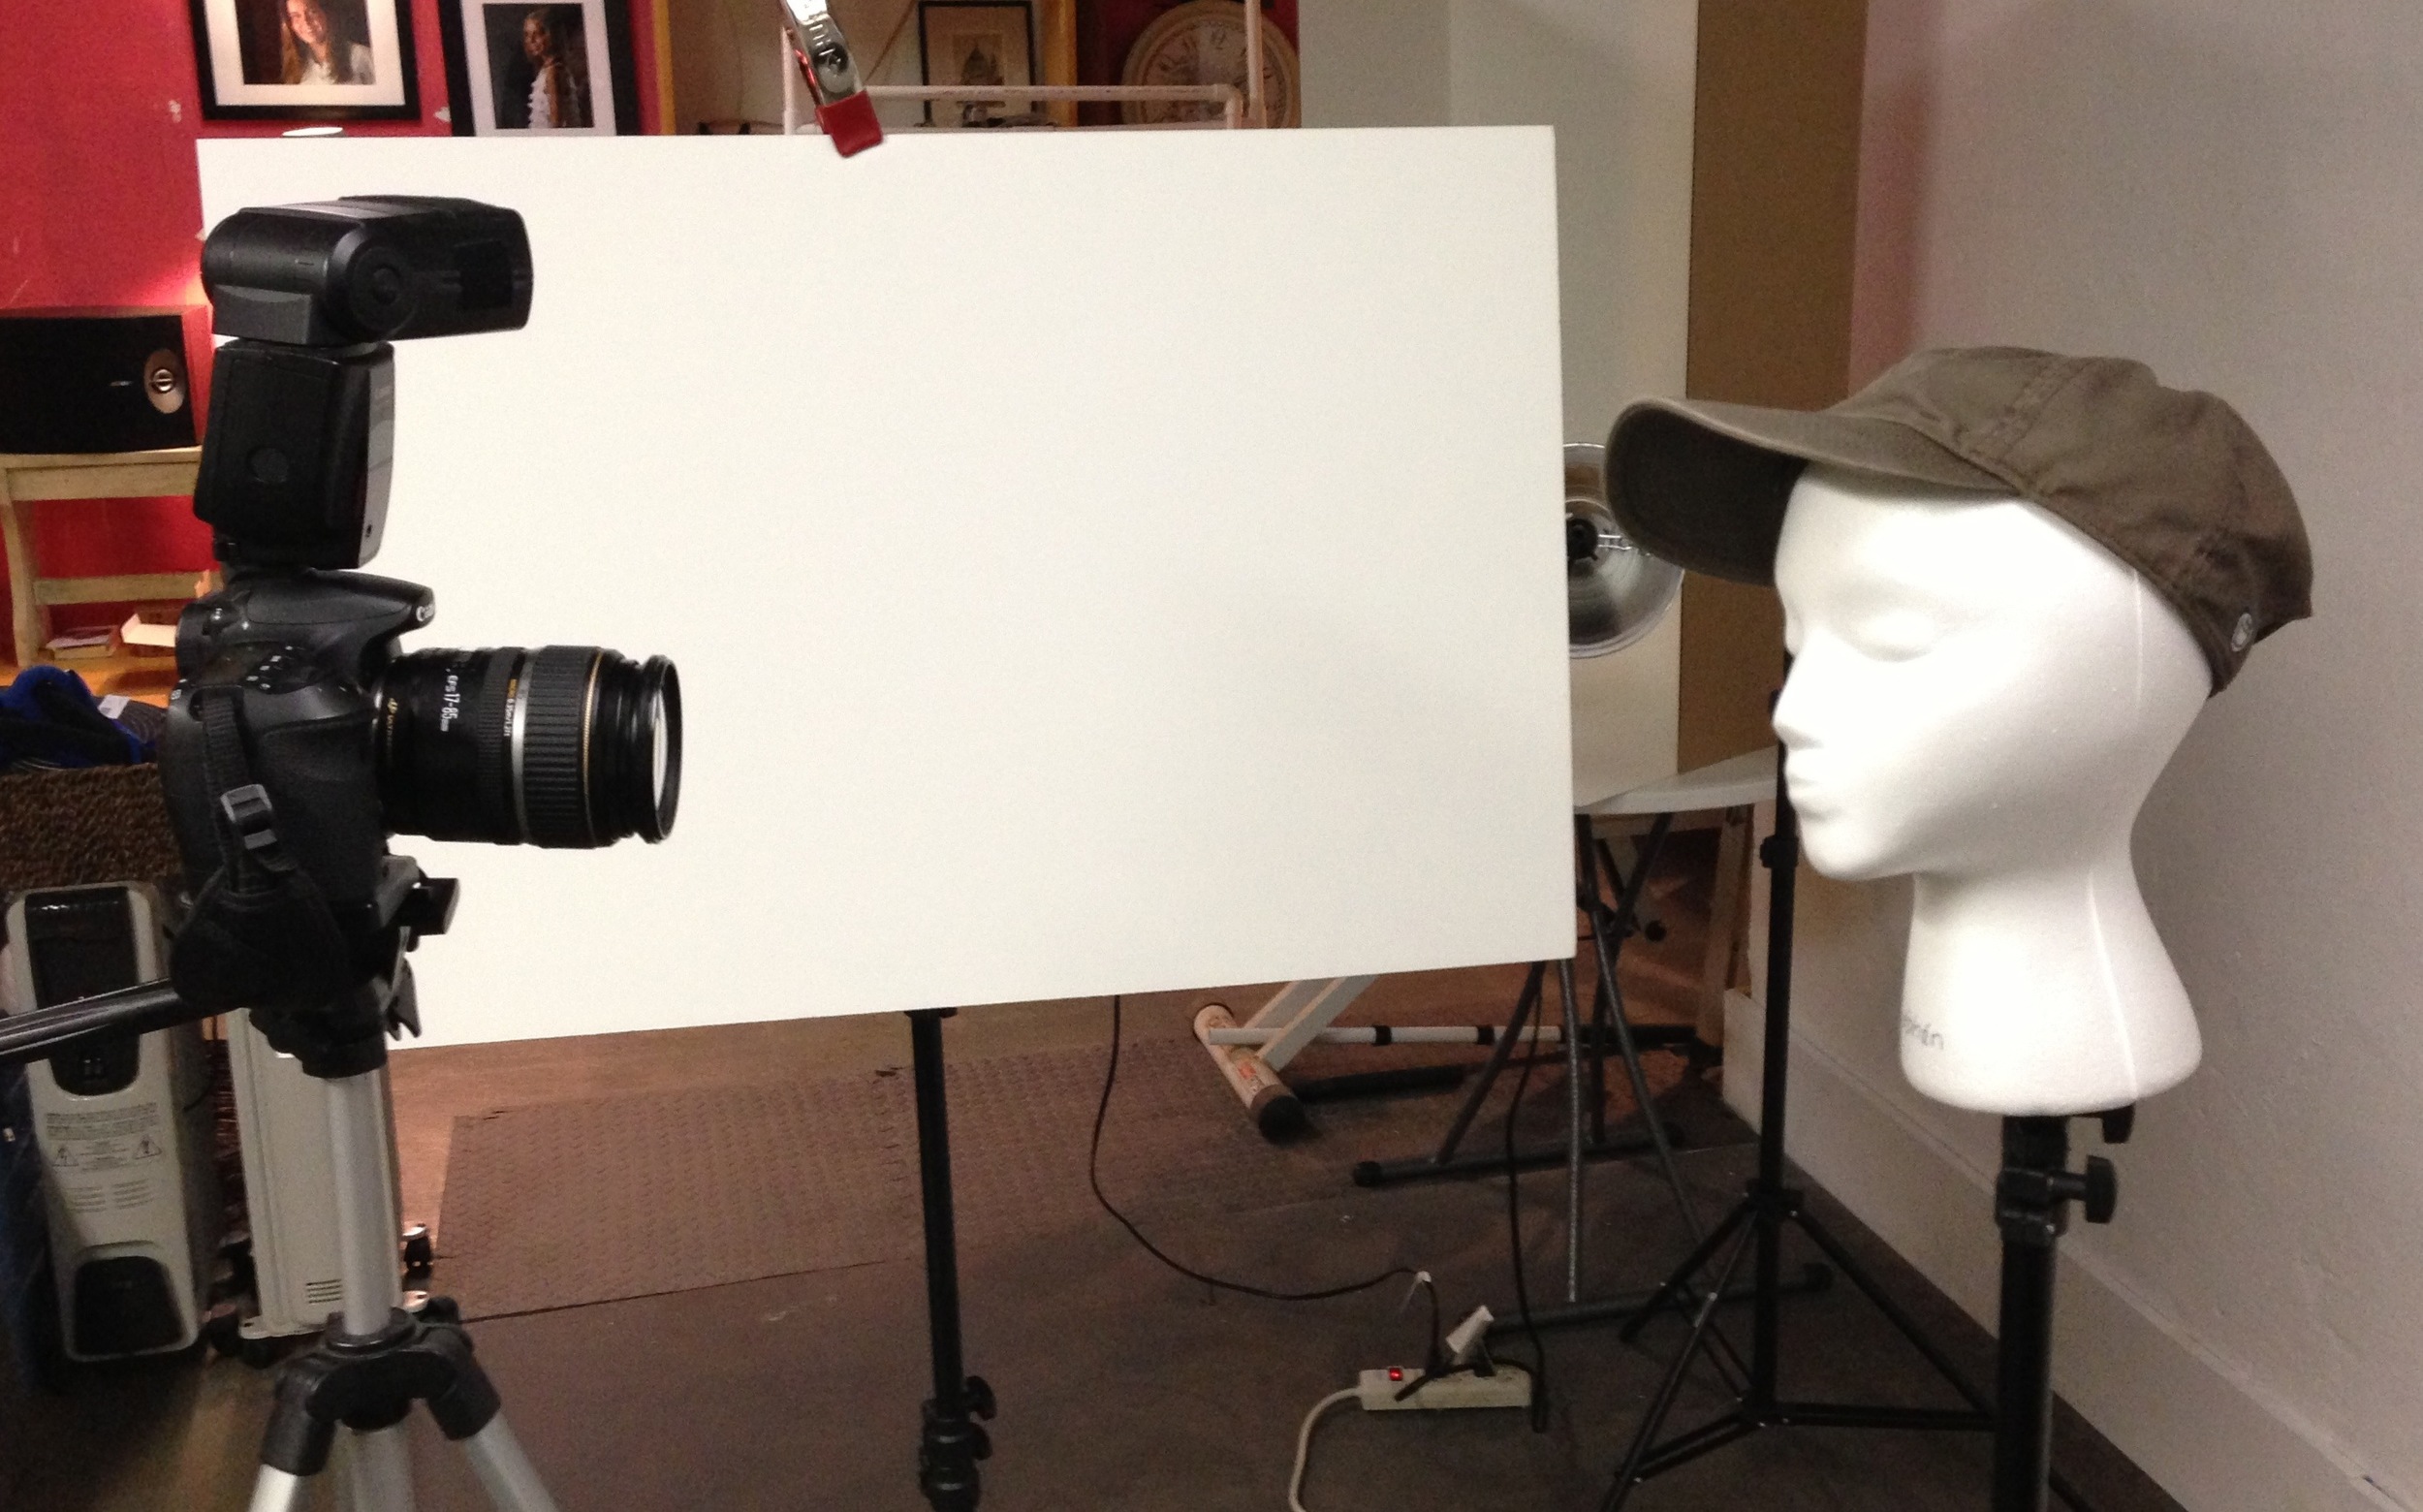
Of course, what I encourage people to do and what we do in my intro flash class, "Using Small Flash to Improve Your Images" (http://www.infotor.com/photoclasses/flashcontrolclasses.php), is if you must leave your flash on your camera, then try to bounce it off a large white surface, such as a wall. You do this by twisting the top element of your flash to point it to a side wall at an angle.
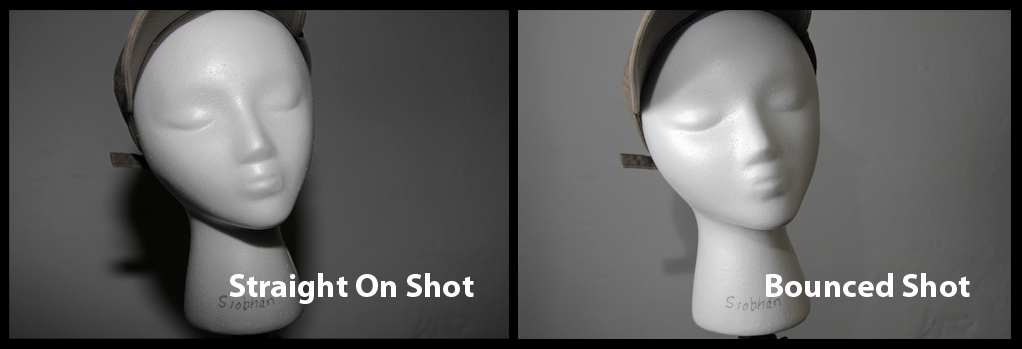
Bouncing the flash goes a long way to improving the light from an on-camera, external flash. And the reason the light improves is that it is now hitting your subject on one side and causing shadows, thus giving your subject more depth and getting rid of the flatness of a frontal shot. No white wall? A reflector will work too. And it doesn’t have to be a commercial reflector - though that is nice. It can be a piece of white foam core or a white piece of material someone holds for you. Look at the side-by-side shots of my wig head model, “Siobhan,” (long story) and you see how just twisting my flash’s head to bounce off a piece of white foam core makes a big difference. Less reflection in bounced shot image even on this styrofoam head. And notice the shadow on the right side of Siobhan’s face. Which do you find more appealing? (I know, I know, what’s appealing about a white, styrofoam wig head, but work with me here!) These are subtle adjustments, but ones everyone can make to improve their on-camera flash shots.
So this gives us a nice start on improving our images already. Next time we will talk about the E-TTL and ITTL modes on Canon and Nikon and how, even with this automatic flash mode, one can still control one’s resulting images.
In addition to teaching scheduled photography classes throughout the year, I am also available to do one-on-one tutoring or small group lessons designed to meet YOUR needs and what you want to learn in the area of photography, using flashes, or the use of Apple products and software. Give yourself the gift of learning: http://www.infotor.com/photoclasses! Check out my new special tutoring bundle: http://www.infotor.com/photoclasses/tutoringbundle.php!